
Dynmap HTTPS Tutorial
A guide on how to make the Dynmap Plugin use the HTTPS protocol rather than plain-text HTTP.
You may have noticed that Dynmap doesn't natively support HTTPS. At least not as of this tutorial being written. Whether you're a security fanatic or just wanting to try something for fun, I hope that I can help you out with that.
SET UP
I primarily use the Apache2 web server software on Linux, and will be using it in my tutorial. If you know how to do the equivalents in another web server software then excellent! On top of that you'll require a working Dynmap. I'm not going to touch on how to do that here. To make this function, you'll require a working Minecraft server with Dynmap configured and to be operational before you begin. It is also recommended to have a basic understanding of Apache2, SSH, and Linux. I'll attempt to explain things well enough so even those without prior knowledge can also do it. I am also assuming you already know how to, or have a webserver set up with HTTPS enabled and your own SSL/TLS certificates as well as your own domain name.
Let's get started
So what we'll be doing is called a Reverse Proxy. Much of the internet actually works using these and you don't even notice it. They can have a myriad of uses, but how we'll be applying it today will be for a Pass Through. As the name implies it simply passes the data through one server before going to you. Typically goes so fast you don't even notice the difference of one being present or not.
I'll be assuming you already have Apache installed and configured, if not, there's plenty of guides online on how to do so. So log into your webserver's terminal, I'll be using SSH in Windows Command Prompt.

In the terminal, navigate to the directory that stores the virtual host sites with cd /etc/apache2/sites-available
This directory will be empty, or contain just some default configs, maybe some of your sites, depends on how much you played around with it already. I'm still assuming you've configured Apache2 before.
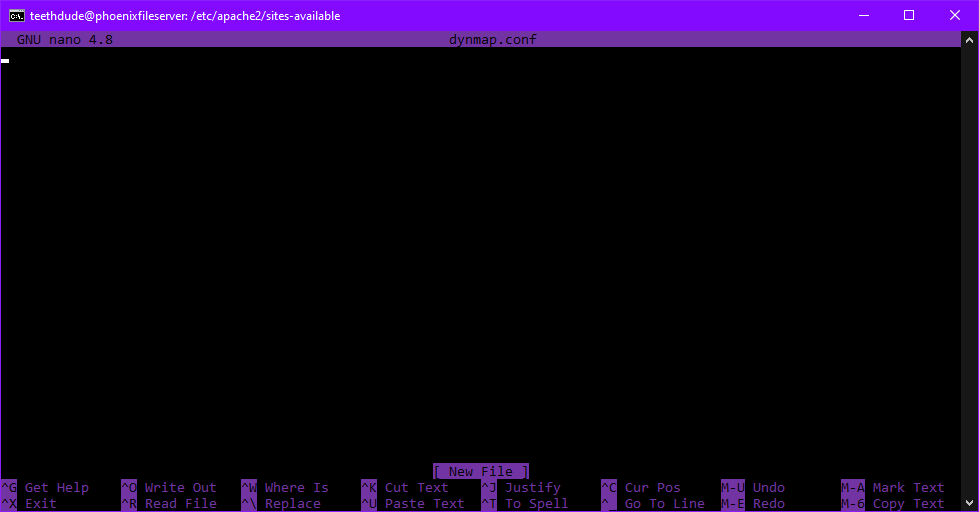
So we shall create a new site. For this example I'll call it "dynmap.conf". Do so by typing nano dynmap.conf
You should now be in a new, empty file. Likely looks similar to this image:
To make this easy, I'll paste the config I use for my own Minecraft server. You'll have to change parts to fit what you have and I'll explain what pieces.
<IfModule mod_ssl.c>
<VirtualHost *:443>

	ServerName map.phoenixnetwork.ca
	ServerAlias map.phoenixnetwork.ca
	ServerAdmin teethdude@phoenixnetwork.ca
	DocumentRoot /var/www/phoenixnet/dynmap

	ErrorLog ${APACHE_LOG_DIR}/error.log
	CustomLog ${APACHE_LOG_DIR}/access.log combined

	ProxyRequests Off
	<Proxy *>
	Order deny,allow
	Allow from all
	</Proxy>

	ProxyPass / http://mc.phoenixnetwork.ca:8123/
	ProxyPassReverse / http://mc.phoenixnetwork.ca:8123/

	<Location />
	Order allow,deny
	Allow from all
	</Location>


  SSLEngine On
SSLProtocol all -SSLv2 -SSLv3 -TLSv1 -TLSv1.1
SSLHonorCipherOrder on


SSLCertificateFile /var/www/certs/star.phoenixnetwork.ca.crt
SSLCertificateKeyFile /var/www/certs/STAR_phoenixnetwork_ca_key.txt
SSLCertificateChainFile /var/www/certs/star.phoenixnetwork.ca.ca-bundle
</VirtualHost>
</IfModule>
Since you should already know how to set up HTTPS and use SSL certificates, I needn't explain that the section containing my certificates won't work for you as you'll have your own.
The main focus point here is the ProxyPass and ProxyPassReverse sections.
Both of these are making it so the site's root is whatever you're attempting to reverse proxy through. So what you'll need to change is the address. The address is whatever users previously were able to connect to before using HTTPS. In my case it is mc.phoenixnetwork.ca:8123. It may be different depending on what you have set up, can be a domain name like mine or an IP address. I highly recommended using a domain name or a static IP address.
Here's a few different kinds you may have: [?]
Domain name example:
ProxyPass / http://mc.phoenixnetwork.ca:8123/
ProxyPassReverse / http://mc.phoenixnetwork.ca:8123/
IP example:
ProxyPass / http://159.2.214.7:9090/
ProxyPassReverse / http://159.2.214.7:9090/
Once you've finished up with the config, press ALT+X to save to file.
You should now be back to the terminal screen. You'll want Apache2 to enable the site. To do so type sudo a2ensite dynmap.conf. It'll then prompt you to restart the Apache2 service. Do so with sudo systemctl reload apache2.
If all went well nothing should pop up in the terminal once it finished restarting Apache2. You can test to see if it worked by going to your website. Mine is https://map.phoenixnetwork.ca.
If all went properly, the dynmap should load as normal but your browser will display the little lock icon in the address bar:

CONCLUSION
Now you should have a nice secure Dynmap page. This'll help hide user passwords from certain kinds of attacks and as well allow you to embed your Dynmap in a Google Sites page. Google Sites won't allow embedding of sites that use plain-text HTTP and will simply display it as a link. This method is pretty lightweight overall on the server and shouldn't reduce speed too much. So you can still use Google as your main web page, but just have this proxy running in the background. Alternatively, you can use this as a way to feed your sites to remote web servers on your LAN or even on an entirely different network. The example I used that showcased my own working Dynmap has the Minecraft Server and the Web Server on entirely different ends of Canada. The Web server is in Newfoundland while the Minecraft one is in Alberta.
For a very small fee of $1 a month, I can host the reverse proxy for you. So if you don't want to go through all this yourself send me an Email. I require very little information from you to do it. Just the IP or domain of your Dynmap page & what name you would like for the subdomain (example: mymap.teethy.ca). If you have your own domain we can get it set to point at the reverse proxy too. If you run into any issues or want to suggest changes or critiques of the tutorial, send them to me with the previously mentioned point of contact.